Installation Guide – Rod Tie Down Plate – GLT
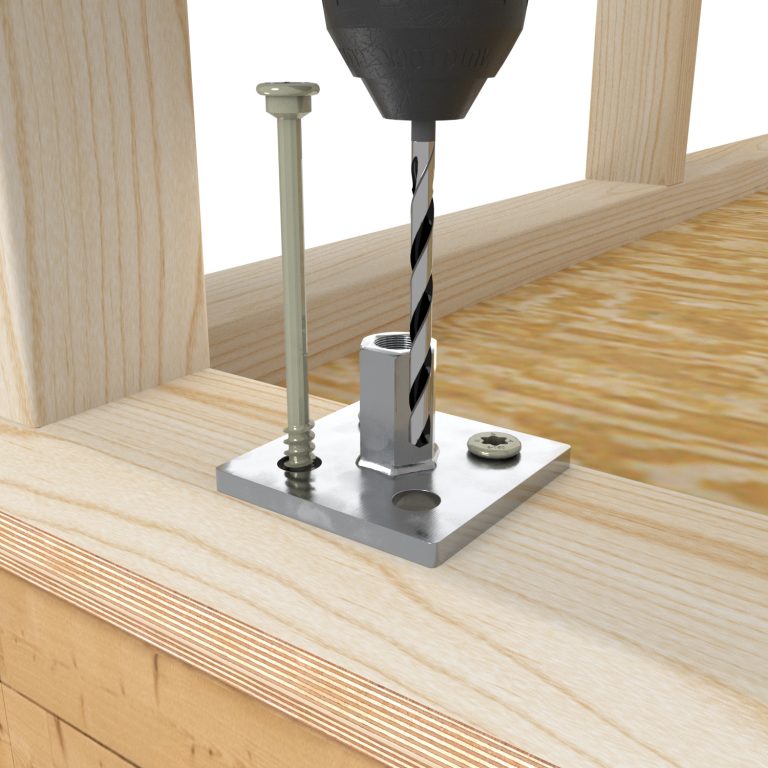
Step 2
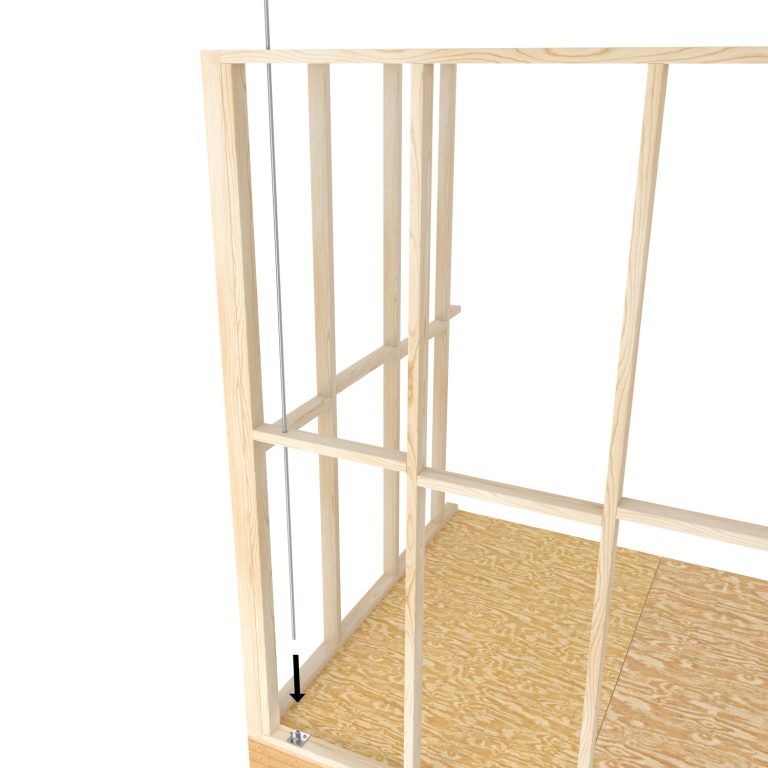
Pre-drill* the screw locations and install** the screws to secure the Rod Tie Down Plate to the top surface of the bottom plate at designed location (make sure centre of the plate is at least 250mm away from the end of the beam), using four 150mm half threaded provided screws.
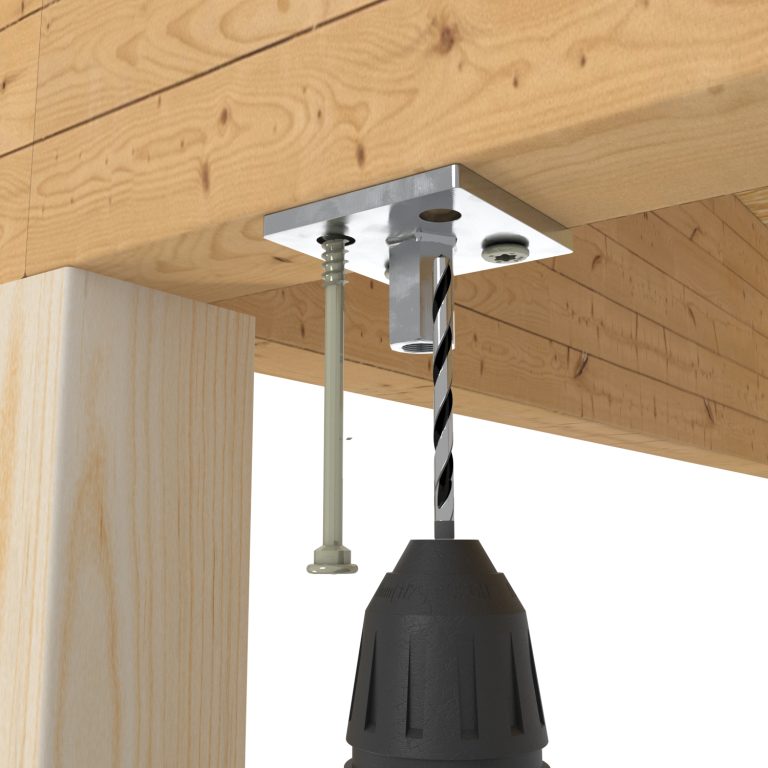
Pre-drill*:
Pre-drill screw location with a 5mm diameter drill bit. Pre-drill hole depth shall be 120mm.
Install**: The recommended torque setting is to be no more than 10 N.m.
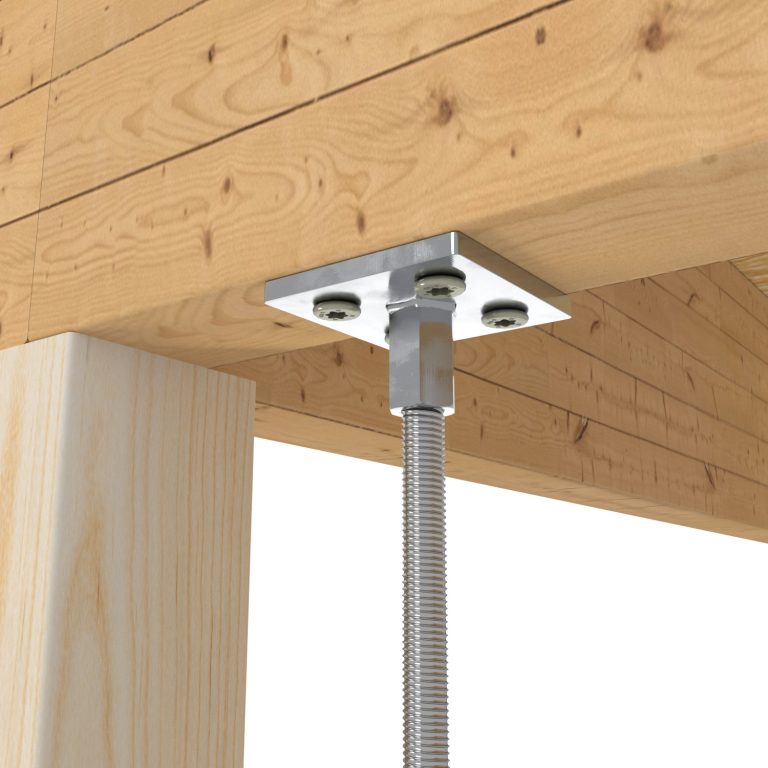
Step 5
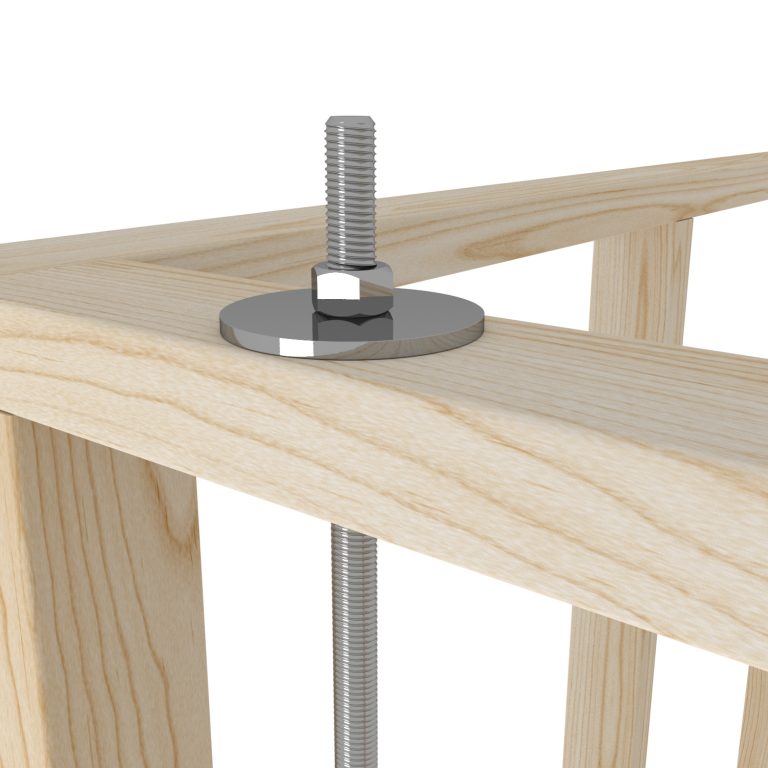
Pre-drill* the screw locations and install** the screws to secure the Rod Tie Down Plate at the designed location on the bottom surface of the GLT beam using the four provided 150mm half threaded screws. Preferably, align it with the top rod tie down plate. If alignment is not possible, a design engineer must check the timber beam design.
Pre-drill*: Pre-drill screw location with a 5mm diameter drill bit. Pre-drill hole depth shall be 120mm.
Install**: The recommended torque setting is to be no more than 10 N.m.